Separate Kick and Bass Before Reaching for More Processing
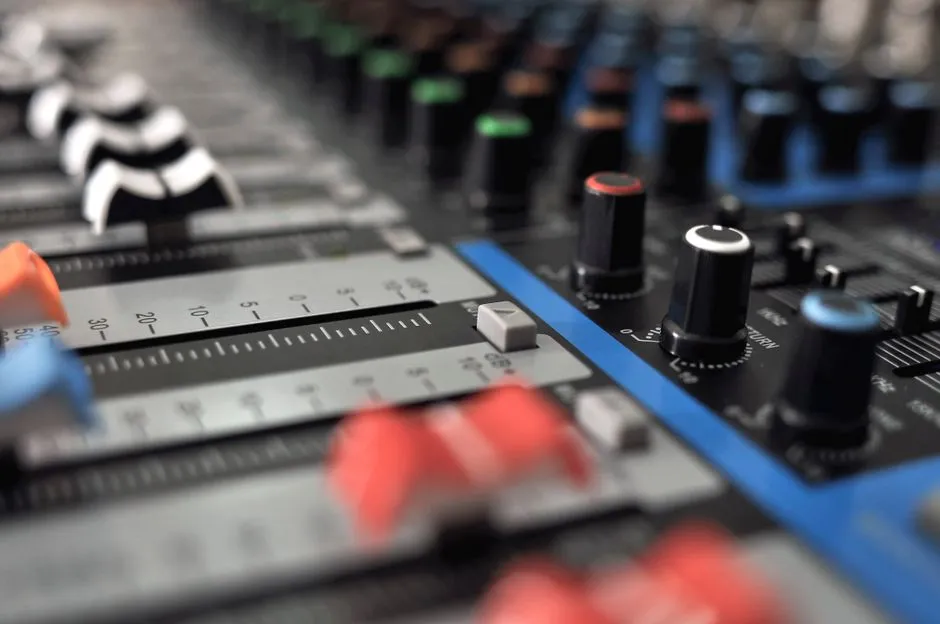
- How do you mix kick and bass clearly?
- What kind of kick-and-bass conflict is present?
- What should you prepare before processing?
- Which sound should own the attack?
- Which sound should carry the sustain?
- How should static level be set?
- When should you use subtractive EQ?
- When is sidechain compression useful?
- How do you separate a mix fault from a room fault?
- What is a reliable test order?
- What should you verify before export?
- Sources
How do you mix kick and bass clearly?
Mix kick and bass by deciding what each part contributes before adding processors. Start with arrangement, timing, note length, source envelope, and static level. Choose which sound owns the initial impact and which carries the sustained low-frequency weight. Compare them alone, together, and in the full mix at a conservative fixed level. Use subtractive EQ or sidechain dynamics only when a specific audible conflict remains, and make every change on a reversible project version.
There is no universal kick frequency and bass frequency that fit every recording. The parts, tuning, room, speakers, and playback level determine what is actually competing.
What kind of kick-and-bass conflict is present?
Play a representative dense section in the full mix. Then mute the kick, restore it, mute the bass, and restore both. Describe the change without naming a tool.
Use these categories:
- Arrangement conflict: both parts occupy the same rhythmic space too often for the intended groove.
- Attack conflict: the kick impact and bass note onset obscure each other.
- Sustain conflict: the kick tail and bass note body overlap and accumulate.
- Level conflict: one part simply dominates before any spectral correction is needed.
- Tonal conflict: the two sources concentrate energy in a similar audible range.
- Monitoring conflict: the balance changes with listening position, room, speakers, or headphones.
- Routing conflict: parallel, stereo, or bus processing adds low-frequency energy not present in either dry source.
More than one can exist. Mark the timestamp and category for each one. “The first bass note loses its attack under the second kick” is a usable diagnosis. “The low end is muddy” is only the starting observation.
What should you prepare before processing?
Save a new project version. Keep the original MIDI, audio, edits, plug-ins, automation, routing, and bus settings. Duplicate any source before changing note length, fades, timing, polarity, or printed processing. Label the duplicate with the single test being made.
Bypass master limiting or loudness processing if it changes the kick and bass relationship during comparisons, and document the bypass. Leave other mix decisions fixed. Set a conservative monitoring level and use the same section for every pass.
The US National Institute on Deafness and Other Communication Disorders states that sound can be harmful when it is too loud, even briefly, or when it is both loud and long-lasting. Low-frequency diagnosis does not require high monitor level. Repeated loud playback adds risk and makes comparison less reliable as attention declines.
Build a static baseline with no new kick-and-bass processing. Set their levels in the full mix, then reduce monitor level and confirm which one still defines the pulse. A level decision should precede a detailed EQ decision.
Which sound should own the attack?
The owner is the part whose onset should communicate the main impact at that moment. It may be the kick, the bass, or a deliberate combination. Decide from the arrangement rather than from the track label.
Listen to the kick alone and note where its audible impact begins. Do the same for the bass. Then play both. If one onset disappears only when they combine, test arrangement and envelope before EQ:
- On a duplicate, move or edit only one onset if it is unintentionally late or early.
- Shorten only the excessive attack or release region that causes the overlap.
- If the source is MIDI, test note timing or note length without replacing the instrument.
- Restore the original and compare the complete groove, not one isolated hit.
Do not align every transient to the same grid line. Small timing differences can be part of the performance. The test is whether the intended impact and groove become clearer, not whether waveforms look symmetrical.
If two recordings of the same event weaken when combined, timing or polarity may be involved. Change a copy only, check the full section in mono and stereo, and avoid a blind polarity flip. A louder single hit does not prove that the rest of the performance is correct.
Which sound should carry the sustain?
The sustained role is the part that should hold low-frequency weight between impacts. A long kick tail may provide it in one arrangement; a bass note or synth sub may provide it in another. If both sustain through the same space, the conflict may be temporal before it is spectral.
Inspect note lengths and source envelopes. On a duplicate, shorten one kick tail or bass release and compare the phrase at matched level. Preserve the front of the sound while testing the tail. If the mix clears without losing weight, the envelope change has addressed the cause directly.
Do not shorten every note to make the waveform look separated. Listen through transitions, rests, and held notes. A release that works in a fast passage may leave a gap in a slow one. Automation or section-specific source edits may be more accurate than one global envelope setting.
If a sampled kick contains a pitched tail, confirm that it supports rather than fights the song’s harmonic movement. Do not assign a note name by sight alone; listen and use a tuner or spectrum display as supporting evidence, then verify in context.
How should static level be set?
Return to the unprocessed duplicate. Play kick alone, bass alone, both together, and then the full mix. Use faders to establish a clear relationship before adding EQ. If lowering one part slightly solves the conflict without weakening its role, stop there.
Compare at the same monitor setting. Do not use automatic makeup gain while deciding whether a processor helps. A processed part that is louder can appear more detailed even when the conflict is unchanged.
Check the balance in a sparse section and a dense section. If one static setting works only in one section, use documented level automation or section-specific arrangement changes rather than a global spectral cut that compromises both.
When should you use subtractive EQ?
Use it after arrangement, envelope, and level are coherent and a repeatable tonal conflict remains. Ableton Live’s current manual describes EQ Eight as a parametric equaliser and notes that its spectrum display can show the output behind the filter curves. A display can locate test regions; it does not decide which source should change.
On a duplicate project version:
- Loop the marked full-mix passage.
- Reduce a candidate region on one source by a small amount.
- Bypass the EQ and compare at matched output level.
- Restore that source and test the other source separately.
- Check the sparse section, dense section, stereo mix, and mono mix.
Choose the cut that improves the stated role with the least tonal damage. A narrow display peak is not automatically a problem, and identical curves on kick and bass are not automatically wrong. Do not copy fixed cutoff or boost values from a generic chart.
The published subtractive-EQ guide explains the broader method. Keep the test tied to the marked conflict rather than reshaping both tracks because their spectra overlap somewhere.
When is sidechain compression useful?
Use sidechain dynamics when the remaining conflict is time-specific and one part should yield briefly when the other occurs. Ableton Live’s current Compressor documentation states that an external sidechain can make one signal trigger compression of another signal. The trigger is not added to the compressed track’s audible output.
Decide which role yields. Route the intended trigger using the DAW’s documented pre-effects, post-effects, or post-fader point. These taps can produce different responses. Confirm the route with the sidechain-listen function if the processor provides one, then turn that monitoring function off before judging the mix.
Start with the smallest gain change and recovery time that reveals the intended impact. Compare it with bypass at matched overall level. Listen for pumping, lost note attack, shortened sustain, and groove changes across several patterns. Do not set attack and release from tempo formulas alone; the source envelopes and arrangement determine whether the result is audible and musical.
If continuous sidechain reduction is needed to make both parts coexist, revisit the sound choice, arrangement, level, and envelope. The processor may be concealing a conflict rather than solving it.
How do you separate a mix fault from a room fault?
Low-frequency sound in a room can form resonances and standing-wave patterns. OpenStax explains that sound resonance and standing waves arise through constructive and destructive interference. A listening position can therefore overstate or understate part of the low end.
Play a known reference at the same conservative level. Move the listening position slightly without changing the mix. If the apparent kick-and-bass balance changes substantially with position, investigate monitoring and room behavior before applying more EQ.
Use correctly fitted headphones as a secondary check, not proof that the room or loudspeakers are correct. Compare on more than one known playback path. The published room-modes and bass-traps guide covers the physical acoustic problem.
Do not move powered monitors or swap interface and speaker connections while equipment is energised. Do not open monitors, interfaces, amplifiers, power supplies, or mains wiring. Keep protective earth intact. Route signal and power cables so they cannot pull a stand or cross a walkway. Use stands and supports rated for the equipment. Wall or ceiling mounting must follow manufacturer instructions and be completed by a qualified installer.
What is a reliable test order?
Use the same marked section and change one variable per pass:
| Pass | Change | Keep fixed | Decision |
|---|---|---|---|
| A | Static level only | Arrangement, envelopes, processing | Does level solve it? |
| B | Arrangement or onset | Levels and sound choice | Is the conflict rhythmic? |
| C | One source envelope | Timing, level, processing | Is attack or sustain overlapping? |
| D | One subtractive EQ move | Earlier approved settings | Does a tonal conflict remain? |
| E | Sidechain dynamics | EQ, arrangement, level | Is brief yielding necessary? |
| F | Room and alternate-path check | Mix settings | Is monitoring misleading the decision? |
After every successful pass, return to the saved baseline and compare at matched level. Keep notes that state the cause, the control changed, and the sections checked. Remove failed tests instead of leaving bypassed or duplicated processors throughout the project.
What should you verify before export?
Confirm that test mutes and solos are cleared, sidechain-listen is off, the trigger route is correct, automatic makeup gain is not hiding a level change, and every source edit has an untouched original. Save a final project version without overwriting the baseline.
Export a dense section and a sparse section. Reimport them on a new track and compare with the live mix at matched level. Check kick alone, bass alone, both together, full mix, stereo, mono, and a known secondary playback path. The result passes when the intended attack, sustain, and groove remain clear without a processor doing work that the arrangement or level should have done.