Prevent Microphone Plosives Before Recording
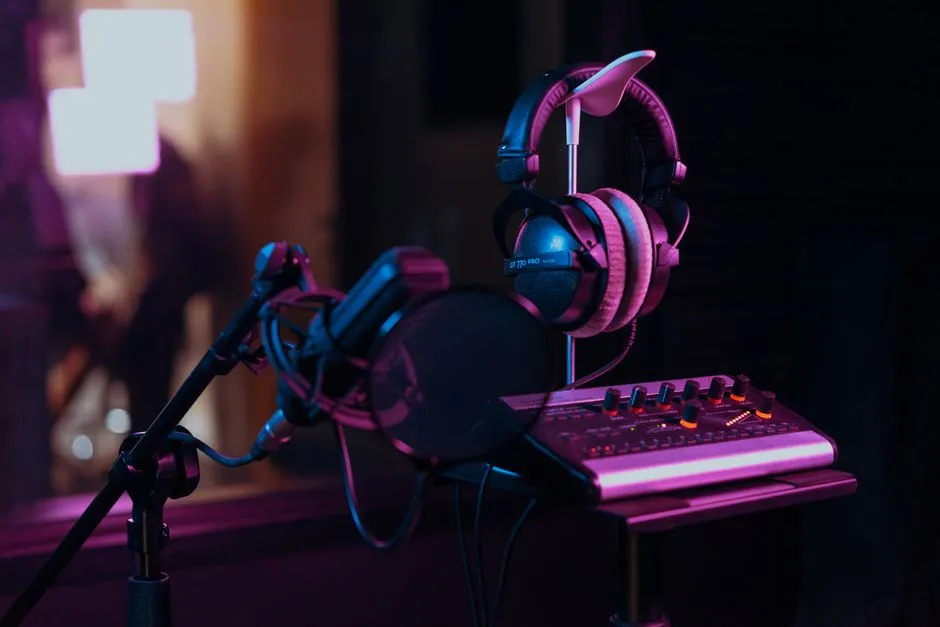
- What stops microphone plosives before recording?
- Is the noise a plosive, clipping, or something else?
- How do you build a useful plosive test?
- Should the performer sing or speak off-axis?
- How should you change microphone angle?
- Does increasing microphone distance prevent popping?
- What does a pop screen actually do?
- What is the fastest one-variable test order?
- Can a captured plosive be repaired?
- What should you check before the final vocal take?
- Sources
What stops microphone plosives before recording?
A plosive is a short burst of air from speech reaching a microphone capsule strongly enough to create a low-frequency thump or pop. Prevent it by changing the airflow path before changing the signal: compare matched takes with a slight mouth angle, a small microphone-angle change, a compatible pop screen, and then more distance. Keep gain and processing fixed during each comparison. Once the cleanest geometry is known, reset gain for the final position.
This is a source-control problem. Equalisation can reduce some captured energy, but it cannot restore a take that was overloaded or heavily distorted.
Is the noise a plosive, clipping, or something else?
Do not start by inserting a high-pass filter. First identify which event is present.
A plosive normally occurs at a particular consonant and appears as a large, brief low-frequency movement. Repeat the phrase at the same position. If the pop returns on the same sound, then changes when the airflow path changes, plosive energy is the likely cause.
Input clipping is different. It is an electrical overload, not air striking the capsule. The Focusrite gain guide explains that digital clipping is undesirable distortion and that the suitable gain setting depends on the source, microphone, and distance. Watch the input meter while recording the unprocessed signal. If peaks reach the converter limit, lower the preamp gain and make another take. A pop filter does not repair clipping.
Other faults need different tests:
- Mouth clicks are usually smaller, sharper events that can occur between or within words.
- Stand vibration follows contact, foot movement, desk movement, or cable handling rather than one consonant.
- Room or traffic rumble can continue when the performer is silent.
- Electrical hum is sustained and normally relates to the signal path, not airflow.
Name the fault before treating it. Several can exist in the same take.
How do you build a useful plosive test?
Create a new mono track with the normal microphone and interface, but bypass high-pass filtering, compression, limiting, de-essing, saturation, and noise reduction. Those processes can hide the cause or make comparisons unreliable. Keep the raw test recordings.
Choose a short phrase containing the consonants that caused the problem. Mark the performer's standing or seated position and the microphone position. Record at the intended performance level rather than whispering for the test. Use the same phrase and delivery for every take.
Set conservative monitoring volume before repeating the phrase. The US National Institute on Deafness and Other Communication Disorders states that sound can damage hearing when it is too loud or lasts too long. Diagnosis does not require loud playback. Listen at a moderate level and use the waveform and meter as additional evidence.
Label each take with the single variable changed. A useful sequence is:
- Baseline position.
- Performer turned slightly across the microphone.
- Microphone angle changed while distance stays fixed.
- Compatible pop screen added.
- Distance increased after the nearer tests are complete.
Do not normalise between takes. If one geometry changes level, note it, but do not compensate until the positional comparison is finished. Otherwise gain becomes a second variable.
Should the performer sing or speak off-axis?
Directing the airflow slightly past the capsule is often the first useful test. Keep the head close to its normal position and turn the mouth a small amount to one side. Alternatively, move the microphone slightly to the side while keeping it aimed appropriately for its design. Record a matched take after each small adjustment.
The aim is to redirect the air burst, not to weaken the consonant or force an unnatural delivery. Asking a performer to suppress every P or B can change timing, diction, and expression. Geometry is repeatable and does not require rewriting the performance.
Off-axis placement can change tone because microphone response is not necessarily identical at every angle. Compare the complete phrase, including vowels and sibilants, rather than judging only whether the pop disappeared. Keep the least disruptive position that removes the burst without creating an unwanted tonal change.
For a fuller positioning workflow, use the published vocal microphone technique guide and keep its variables separate from this plosive test.
How should you change microphone angle?
First confirm the microphone's intended pickup side in its manual. A side-address microphone and an end-address microphone may look similar when mounted, but the correct working axis is not interchangeable. Do not use an incorrectly addressed capsule as a plosive fix.
With the stand secure, rotate or offset the microphone in small steps while the performer and distance remain fixed. Make one short take at each position. Stop and secure the mount before recording; do not adjust a suspended microphone while someone is beneath it.
If the stand, boom, or mount cannot hold the chosen angle without drifting, replace or correctly counterweight the support. Keep the base stable and route the cable so it cannot pull the stand or create a trip hazard. Do not improvise a ceiling or wall suspension. Structural overhead mounting belongs to the manufacturer's instructions and a qualified installer.
Does increasing microphone distance prevent popping?
More distance can reduce the force of a local air burst at the capsule, but it changes other parts of the recording. The direct voice becomes quieter relative to room sound, proximity effect may change on a directional microphone, and the preamp gain may need to be reset. Distance is therefore a controlled trade, not a universal cure.
Test it after angle and screening. Move the microphone in measured increments, keep the performer at the mark, and record the same phrase. Choose the closest distance that gives reliable plosive control and an acceptable balance of direct voice and room sound. Then set input gain for that final geometry and check the loudest expected passage for clipping.
The home vocal recording guide covers the room and signal-chain decisions that become more important as distance increases.
What does a pop screen actually do?
A pop screen interrupts and disperses the airflow between the mouth and the capsule. Neumann describes its PS 20 a as a screen for suppressing pop noise. RODE describes its compatible WS2 foam windshield as helping prevent hard plosive sounds from overloading the microphone capsule. These are specific manufacturer claims about those accessories, not evidence that every screen or foam cover behaves identically.
Use an accessory designed to fit the microphone or mount. Secure it so it cannot sag into the microphone, touch the performer, or pull the stand off balance. The correct spacing depends on the microphone, screen, performance level, and available mount, so test placement rather than copying an unsupported fixed distance.
Record matched takes with and without the screen. Listen for both plosive control and tonal change. A dense foam windshield or screen can affect the captured sound; compatibility and the manufacturer's instructions matter. Do not force foam over a microphone it was not designed to fit, and do not cover vents or controls.
A screen is not a limiter. If the input clips when the performer gets loud, reduce gain and retest. If the stand transmits a knock, isolate the stand or mounting fault. One accessory should not be used to label several unrelated noises as plosives.
What is the fastest one-variable test order?
Use the following order and retain every take:
| Take | Change | Keep fixed | Decision |
|---|---|---|---|
| A | None | Gain, distance, angle, processing | Confirm the fault and its timing |
| B | Performer angle | Gain, microphone, distance | Check whether redirected airflow solves it |
| C | Microphone angle | Gain, performer mark, distance | Compare plosive control and tone |
| D | Add compatible screen | Gain and chosen geometry | Check accessory effect |
| E | Increase distance | Angle, screen, processing | Compare room balance and plosive control |
After choosing the best arrangement, reset gain for that exact position. Record the loudest expected phrase, then record the problem phrase several times. A setup is not reliable because it passed once.
Photograph or measure the final stand position, microphone angle, performer mark, and screen arrangement. Add those details to the session notes. Recreating a proven geometry is faster than diagnosing the same fault at every session.
Can a captured plosive be repaired?
Retake it when the performer and setup are still available. Prevention produces a more predictable result than aggressive repair.
If a retake is impossible, duplicate the playlist or track before editing. Test clip gain or short automation on the event first. Spectral editing may help when the burst is visually distinct. A high-pass filter can reduce low-frequency energy, but there is no universal cutoff that preserves every voice. Apply it only after comparing the full word and surrounding phrase against the untouched take.
Do not overwrite the original recording. Keep processing reversible, save a new version, and compare at matched listening level. If the capsule or converter overloaded, editing may reduce the level of the distortion without reconstructing the lost waveform. Mark that limitation in the session notes instead of treating a quieter defect as a clean take.
What should you check before the final vocal take?
Confirm that the microphone faces the correct direction, the mount is tight, the stand is stable, and the cable cannot pull or trip anyone. Confirm that the pop screen remains in the tested position. Bypass any processor added only for diagnosis, then set gain for the final geometry and the performer's loudest planned passage.
Record a short take and inspect it before beginning a long pass. Check the problem consonants, input peaks, room sound, and the entire vocal tone. Preserve the test that passed and note its positions. The repeatable result is the objective: controlled airflow, adequate headroom, stable hardware, and no hidden processing changing the comparison.